DIY Garage Doors
Welcome to our guide on DIY garage doors! If you’re looking to fix a few common issues or considering some upgrades, this article is here to help. We’ll walk through the basics of different types of garage doors, essential tools you’ll need, and step-by-step guides for both simple and more advanced repairs. Our aim is to provide clear, practical advice to help you get your garage door working smoothly by going the DIY route.
Garage Doors and Their Functions:
First, let’s have a solid understanding of the basics. Garage doors come in various types with different mechanisms and ways of maintenance .
The most common types of garage doors you’ll encounter are:
Sectional Garage Doors: These are the most popular in residential homes. Made up of panel sections connected by hinges, they roll up and overhead on tracks. Sectional doors are known for their reliability and can be insulated to improve energy efficiency.
Roller Doors: Similar to sectional doors but constructed from a single piece of material, this garage door roll up into a cylinder above the door opening. They’re often made of steel which are ideal for both residential and commercial uses.
Tilt-Up/Up-and-Over Canopy Doors: These doors are made from a single solid piece and tilt up into the garage. Part of the door extends outside the garage, forming a canopy when open. They’re simple in design and operation, but they require more space in front of the garage to open properly.
Tilt-Up/Up-and-Over Retractable Doors: Similar to the canopy style, these also tilt up into the garage but retract fully into the garage. They are more complex than canopy doors and take up more space inside the garage.
Swing-Out Garage Doors: Also known as side-hinged doors, these classic doors swing open outward from hinges located on either side of the door opening. They use a traditional mechanism reminiscent of barn doors. They can be a great fit for homes with enough driveway space to accommodate the swinging motion. These doors can both be manually and automatically operated.
Mechanics and Operation
Understanding how your garage door operates can help diagnose and fix common issues. Garage doors move up and down on tracks guided by rollers. They are counterbalanced by springs – either torsion springs mounted above the door opening or extension springs along the tracks. The door opener, which can be chain, belt, or screw-driven, controls the movement, although manual operation is also common.
Maintenance Essentials
Regular maintenance of garage doors ensures that it will operate smoothly and safely:
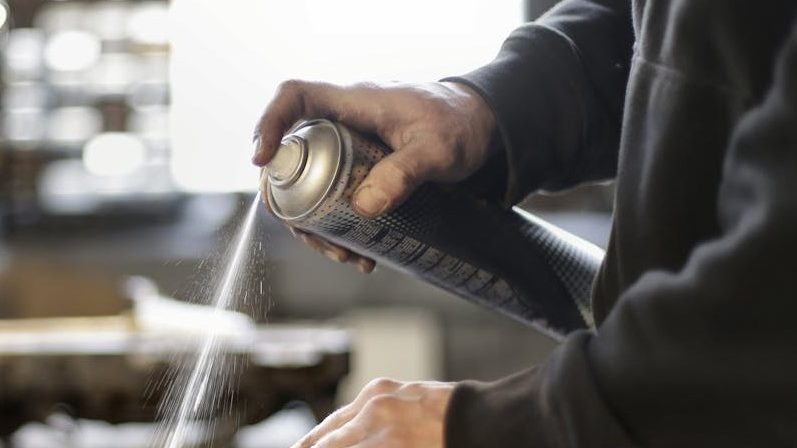
Lubrication: Keeping the moving parts like hinges, rollers, and springs well-lubricated reduces noise and friction.
Track Cleaning and Alignment: Making sure the tracks are free from gunk and properly aligned guarantees the door operates smoothly.
Spring Inspection: Since springs are under high tension, checking them for wear and tear is important (note: repairing or replacing springs can be dangerous and might require a professional).
Door Balance Test: An unbalanced garage door can strain the opener and other components. You can test this by manually lifting the door halfway and seeing if it stays in place.
Safety Features
Modern garage doors come with safety features like auto-reverse mechanisms and photoelectric eyes, which detect obstacles in the door’s path and reverse the door’s direction to prevent accidents.
Having a good grasp of these basics will not only help you maintain your garage door but also make appropriate solutions when it comes to repairs and upgrades. Remember, while many aspects of garage door maintenance can be handled on a DIY basis, it’s important to recognize when a professional’s expertise is needed, especially for complex repairs like spring replacements.

Simple Fixes for Common Garage Door Issues
Addressing common garage door issues doesn’t always require a call to the professionals. Many minor problems can be fixed with a bit of know-how and the right tools. Here’s how you can tackle some of these issues:
Realigning the tracks:
Over time, the tracks that guide your garage door can become misaligned, causing the door to operate poorly or not at all. To fix this:
1. Loosen the screws that attach the tracks to the garage frame.
2. Use a level to check the alignment and gently tap the tracks back into the correct position.
3. Once aligned, retighten the screws to secure the tracks in place.
4. Test the door operation, ensuring it moves smoothly without resistance.
Replacing weather stripping:
Damaged or worn weather stripping can lead to drafts and moisture entering your garage which may cause damage to the items in there. Replacing it is straightforward:
1. Remove the old weather stripping. For bottom seals, you might need to remove a retainer or brackets.
2. Clean the area to ensure the new stripping adheres well.
3. Measure and cut the new stripping to fit.
4. Install the new stripping, ensuring it creates a good seal when the door is closed.
Fixing a noisy garage door:
A noisy garage door can be annoying and might indicate a lack of lubrication or loose parts:
1. Tighten all bolts and screws on the door and track system, as vibration can cause them to loosen over time.
2. Lubricate hinges, rollers, springs and other moving parts with a silicone-based lubricant designed for garage doors.
3. Check the rollers and hinges for wear and replace any that are damaged.
Replacing remote batteries:
Before trying to solve complex fixes for a non-responsive garage door opener, check the remote batteries first:
1. Open the remote casing, usually secured with a screw or clip.
2. Replace the old batteries with new ones, ensuring they’re correctly oriented.
3. Test the remote to see if the door now responds.
Cleaning and lubricating rollers:
Dirty or unlubricated rollers can cause the door to stick or squeal as it moves:
1. Clean the rollers and tracks with a cloth to remove dirt and debris.
2. Apply a lubricant specifically made for garage doors to the rollers.

Advanced Garage Door Repairs
Tackling advanced garage door repairs requires a bit more skill and caution. These tasks often involve critical components like springs and openers, which, if handled improperly, can pose safety risks. It is important to only take on these issues if you’re experienced and comfortable with the risks. Otherwise, it is highly recommended to let a professional handle these repairs.
Replacing Torsion Springs
The torsion springs are under a lot of tension and can be dangerous if not handled correctly. You can attempt this repair by following these steps carefully:
1. Close the garage door and disconnect the opener.
2. Secure the door in place using locking pliers or a similar tool to prevent it from opening.
3. Loosen the set screws on the torsion spring with a winding bar, then carefully unwind the spring.
4. Detach the springs from the center bracket and slide them off the torsion bar.
5. Install the new springs, then wind them according to the manufacturer’s specifications.
6. Test the door balance and adjust as needed.
Repairing the Garage Door Opener
Issues with the garage door opener can range from electrical problems to mechanical failures. Here are some steps to troubleshoot and repair common opener issues:
1. Check the power source to ensure the opener is properly plugged in and the circuit breaker hasn’t tripped.
2. Inspect the gears within the opener; if they’re worn out, they’ll need replacing.
3. Examine the safety sensors at the bottom of the door tracks. The door won’t operate correctly if they’re misaligned or blocked.
4. If the remote control doesn’t work, try reprogramming it according to the manufacturer’s instructions.
Replacing the Garage Door Opener
Sometimes, the best solution is to replace an outdated or malfunctioning opener:
1. Disconnect and remove the existing opener.
2. Install the new opener’s main assembly in the center of the garage ceiling, following the manufacturer’s guidelines.
3. Attach the opener to the door using the provided connecting bracket.
4. Program the opener and set the limit switches to ensure the door opens and closes correctly.
Repairing or Replacing the Door Panels
Damaged panels can affect the door’s appearance and functionality. If the damage is minimal, you might be able to repair it. However, severe damage usually requires replacing the panel:
1. Secure the door in an open position.
2. Remove the damaged panel by disconnecting it from the door frame and tracks.
3. Install the new panel by securing it in place and reattaching any hardware.
Safety Precautions and Tips
Safety first, always. Wear protective gear, ensure your tools are in good condition, and never attempt a repair you’re not comfortable with. Garage doors are heavy and their components are under a lot of tension, especially the springs. If in doubt, it’s always safer to hire a professional.
Use the correct, well-maintained tools and wear protective gear. Always make sure the garage door is securely fixed to prevent unintended movement, and always disconnect the opener’s power before starting. Be cautious with ladders, and consider having a helper for tasks that require an extra set of hands. After any repair, test the door’s operation cautiously, making sure the area is clear of any obstructions or tools.
Conclusion
That wraps up our guide to DIY garage door maintenance and repair. We explored everything from straightforward fixes to more involved repairs. The valuable knowledge from this guide is handy to know to keep your garage door functioning smoothly. Regular maintenance is important, and addressing small issues promptly can prevent more significant problems in the future. Remember, it’s important to seek professional help for repairs that feel beyond your scope. Keeping these knowledge and tips in mind will help you keep your garage doors stylish and operating smoothly.


Comments are closed.