
DIY Epoxy Garage Floor: Mastering Your Makeover
Imagine transforming your garage – a place often seen merely as a storage space or parking for cars – into a visually stunning, high-performance surface that could rival a showroom floor. A DIY epoxy flooring can do just that. When we talk about epoxy flooring, it’s not just about its shiny appearance. It’s also about durability and ease of maintenance.
Benefits of Epoxy Garage Flooring
Durability
Epoxy isn’t just any regular paint; it’s a fortified resin that provides a robust and resilient finish. This makes it ideal for spaces like garages, which often experience heavy traffic, mechanical wear, and chemical spills.
Strength Against Stains: Whether it’s an oil spill from your car or a paint drop from your latest DIY project, epoxy flooring doesn’t let these stains seep in. A simple wipe, and they’re gone.
Resistance to Impact: Drop a tool? No worries. The epoxy surface can withstand the impact of tools, heavy machinery, and even the weight of your vehicle without chipping or cracking.
Chemical Resistance: For those who often work with chemicals, epoxy is a godsend. Its surface resists chemicals, making it perfect for car enthusiasts or hobbyists.
Aesthetics
The aesthetic appeal of DIY epoxy garage floor is undeniable. With its glossy finish, it elevates the overall look of any garage.
Customizable Designs: From solid colors to decorative chips and even metallic finishes, epoxy allows for a multitude of design options. It’s a chance for homeowners to inject their personality and style into their space.
Brightness: Thanks to its reflective surface, epoxy flooring brightens up garages, making them feel more spacious and less like a dark, dreary cave.
Seamless Look: Epoxy provides a seamless finish, free from joints or breaks, giving the floor a continuous, smooth appearance.
Cost-Effective
While the initial investment might seem a tad higher than regular paint, DIY epoxy garage floor proves to be a cost-effective solution in the long run.
Longevity: Unlike regular paints that chip and fade over time, a well-applied epoxy floor can last decades, reducing the need for regular touch-ups or replacements.
Reduced Maintenance: The ease of cleaning and the minimal maintenance required means you save on cleaning agents, tools, and, most importantly, time. A simple sweep and occasional mop are all it needs.
Increases Home Value: A well-maintained epoxy floor can increase the resale value of a home. Prospective buyers often see it as a valuable addition, knowing the garage is a space free from stains and damage.
How Do I DIY my Garage Floor with Epoxy?
These are the steps to do for this project:
- Prepping your garage floor. This includes cleaning and repairing cracks and damages.
- Testing for moisture.
- Figuring out how much epoxy you need for your garage floor.
- Choosing the right epoxy kit, (and purchasing them).
- Applying the epoxy and waiting for curing time.
Let’s break them down one by one:
Preparing Your Garage Floor
Cleaning
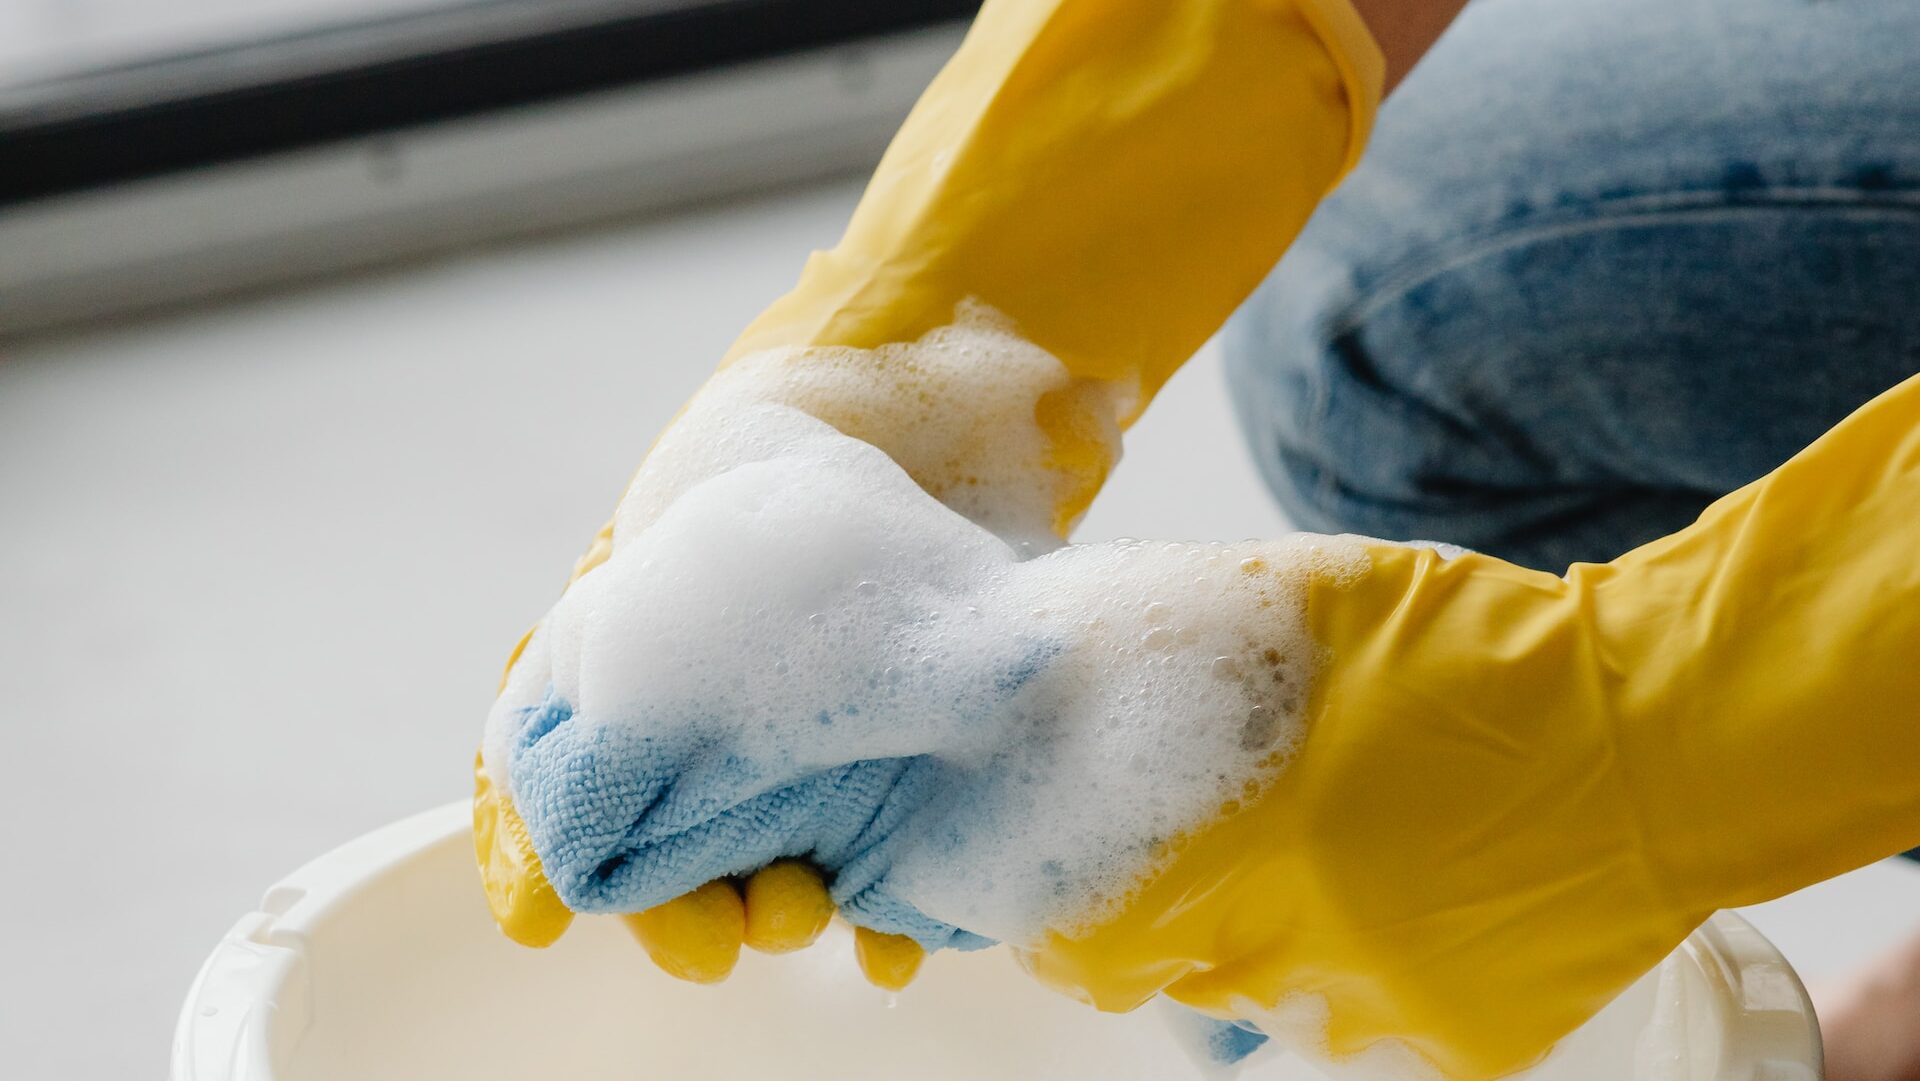
A clean surface is vital for the epoxy to adhere correctly. Here’s how to ensure your DIY epoxy garage floor is immaculate:
- Decluttering: Before you begin, remove everything from the garage. This gives you unrestricted access to every nook and corner.
- Sweeping: Start by sweeping away any loose debris, dust, or dirt using a broom. It’s essential to get rid of any large particles that could interfere with the cleaning process.
- Degreasing: Over time, oils and other automotive fluids can seep into the concrete, affecting the epoxy’s adhesion. Use a degreaser or a specially designed cleaning solution for garages to tackle these spots. Scrub the area thoroughly, and rinse.
- Deep Cleaning: Consider using a pressure washer or a concrete cleaner to deep clean the surface. This ensures the removal of ingrained dirt and prepares the concrete to bond better with the epoxy.
- Drying: It’s crucial to let the floor dry completely before moving to the next steps. Depending on your climate and the tools you’ve used, this can take anywhere from a few hours to a couple of days.
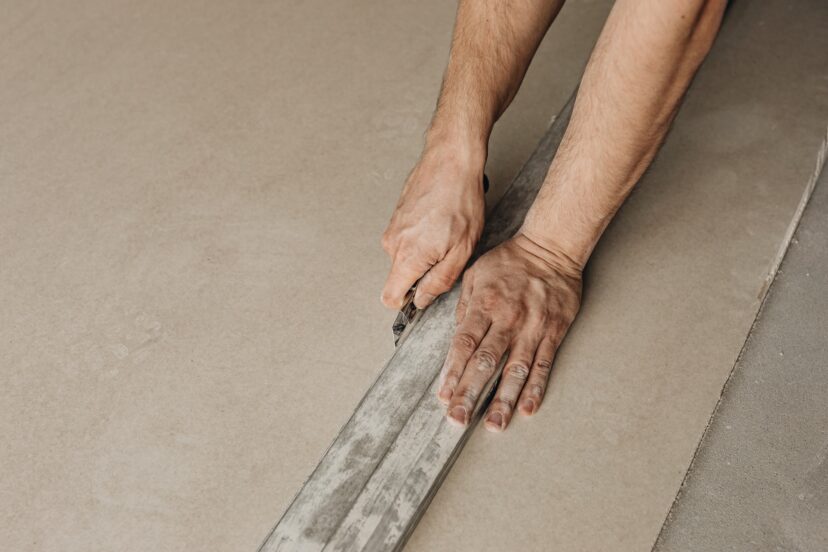
Repairing Cracks and Damages
A smooth surface is the key to a flawless epoxy finish. Here’s how to address cracks and damages:
Identifying Damages: Walk around the space and mark areas that need repairs. This includes cracks, holes, and other surface imperfections.
Crack Fillers: Use a concrete crack filler or epoxy patching compound to fill in any cracks or holes. Follow the product’s instructions and make sure the filler is compatible with the epoxy you intend to use.
Leveling: For larger areas of damage or uneven surfaces, consider using a self-leveling concrete compound. This ensures your floor is even and devoid of any dips or rises.
Grinding: For a superior bond, some experts recommend grinding the surface with a diamond grinder. This creates a slightly rough texture, allowing the epoxy to adhere better. However, this step might not be necessary for your DIY epoxy garage floor. It’s best to consult with your epoxy kit’s instructions or a professional.
Final Clean: After repairing, sweep away any debris and give the floor a final clean. This ensures that no dust or particles interfere with the epoxy application.
Testing for Moisture
Moisture is one of the primary culprits behind failed epoxy coatings. The presence of moisture in a concrete floor can lead to bubbles, peeling, and other issues post-application. Thus, before applying epoxy, it’s important to test for moisture. Here’s how:
Visual Inspection
Before any tests, simply look at the floor. Signs of moisture include darkened areas of concrete, condensation on the surface, or areas where the concrete seems to be discolored or degraded.
The Plastic Sheet Method
This is a simple DIY method to check for moisture.
Steps:
- Clean and dry the surface area where you’ll perform the test.
- Cut a plastic sheet (clear plastic is preferable) into a 2-foot by 2-foot square.
- Tape down all four sides of the sheet onto the concrete, ensuring an airtight seal.
- Leave it in place for at least 24 hours.
- After 24 hours, remove the plastic. If the area under the plastic is damp or you notice condensation on the underside of the plastic, it’s a clear indication of moisture issues.
Calcium Chloride Test:
This test measures the quantity of moisture vapor emitted from the concrete over time.
Steps:
- Clean and dry a surface area of the floor.
- Following the manufacturer’s instructions, place the calcium chloride container on the surface.
- Cover it with a plastic dome or sheet to prevent outside moisture from affecting the test.
- After a specified period (typically 60-72 hours), weigh the calcium chloride. An increased weight indicates moisture absorption.
How Much Epoxy Do I Need?
When determining the quantity of epoxy needed, consider the following factors:
1. Size of Your Garage:
Start by measuring the length and width of your garage floor. Multiply these numbers to get the total square footage.
For example, if your garage is 20 feet long and 15 feet wide, you have a 300 square foot garage.
2. Epoxy Coverage Rate:
Epoxy products will have a coverage rate indicated on their packaging. This rate tells you how many square feet a gallon (or another measure) of the product will cover. Coverage rates differ based on the epoxy type and brand.
For instance, a product might specify that it covers 250-300 square feet per gallon for a single coat.
3. Number of Coats:
Decide how many coats of epoxy you want. Many professionals recommend at least two coats for a durable finish, especially for a garage that will see regular vehicle traffic.
4. Wastage and Overages:
Always factor in a little extra for mistakes, spillage, or areas that might require a thicker coat. A good rule of thumb is to add an additional 10% to your calculated amount.
Calculation:
Using the above factors, the formula becomes:
Total Epoxy Needed = (Total Square Footage ÷ Epoxy Coverage per Gallon) x Number of Coats x 1.10 (to account for the 10% overage)
Using the previous example with a 300 square foot garage, if an epoxy covers 250 sq. ft. per gallon and you’re applying two coats, you would need:
(300 sq. ft. ÷ 250 sq. ft.) x 2 x 1.10 = 2.64 gallons
So, you’d likely purchase 3 gallons to ensure you have enough.
Choosing the Right Epoxy Kit
Brands to Consider
While there are numerous epoxy brands in the market, a few have consistently stood out due to their quality, durability, and overall performance.
ArmorPoxy
Ideal for those looking for industrial-strength products. ArmorPoxy kits are built for heavy-duty use and can stand up to intense wear and tear. Check on Amazon: ArmorPoxy Garage Floor Epoxy Kit
Rust-Oleum
A household name when it comes to paints and coatings, Rust-Oleum offers an array of garage floor epoxy kits that are both user-friendly and durable. They’re known for their easy-to-follow instructions and comprehensive kits. Check on Amazon: Rust-Oleum 261845 EpoxyShield Garage Floor Coating , 2 gal, Gray
Colored Epoxies
This brand stands out for its variety in colors. If you’re looking for vibrant and unique shades, this is the brand to consider. Check on Amazon: Coloredepoxies 10002 Clear Epoxy Resin Coating 100% Solids, High Gloss For Garage Floors
Always remember to read reviews, consult online forums, and perhaps ask around in your local community. Personal experiences from fellow DIYers can offer invaluable insights.
Important Ingredients
The composition of the epoxy plays a pivotal role in determining its strength, finish, and longevity.
100% Solids Epoxy: This refers to pure epoxy that has no solvents. It’s denser and offers a thicker coat once cured. It’s also more durable and less likely to peel or chip.
Water-Based Epoxy: As the name suggests, this epoxy is mixed with water. It’s easier to apply and has minimal fumes, making it ideal for DIYers. However, it might not be as durable as 100% solids epoxy.
Polyamine Hardeners: These are curing agents that determine the drying speed of the epoxy. Some kits have fast-acting hardeners for quicker jobs, while others might take longer to cure, providing more time to work with the epoxy.
Color Pigments: Ensure the epoxy kit uses high-quality pigments that won’t fade over time. UV resistant pigments are crucial if your garage gets a lot of sunlight.
Added Textures: Some kits come with flakes or chips to provide a textured finish. This not only enhances the aesthetic but can also make the floor less slippery.
Steps to Applying Epoxy
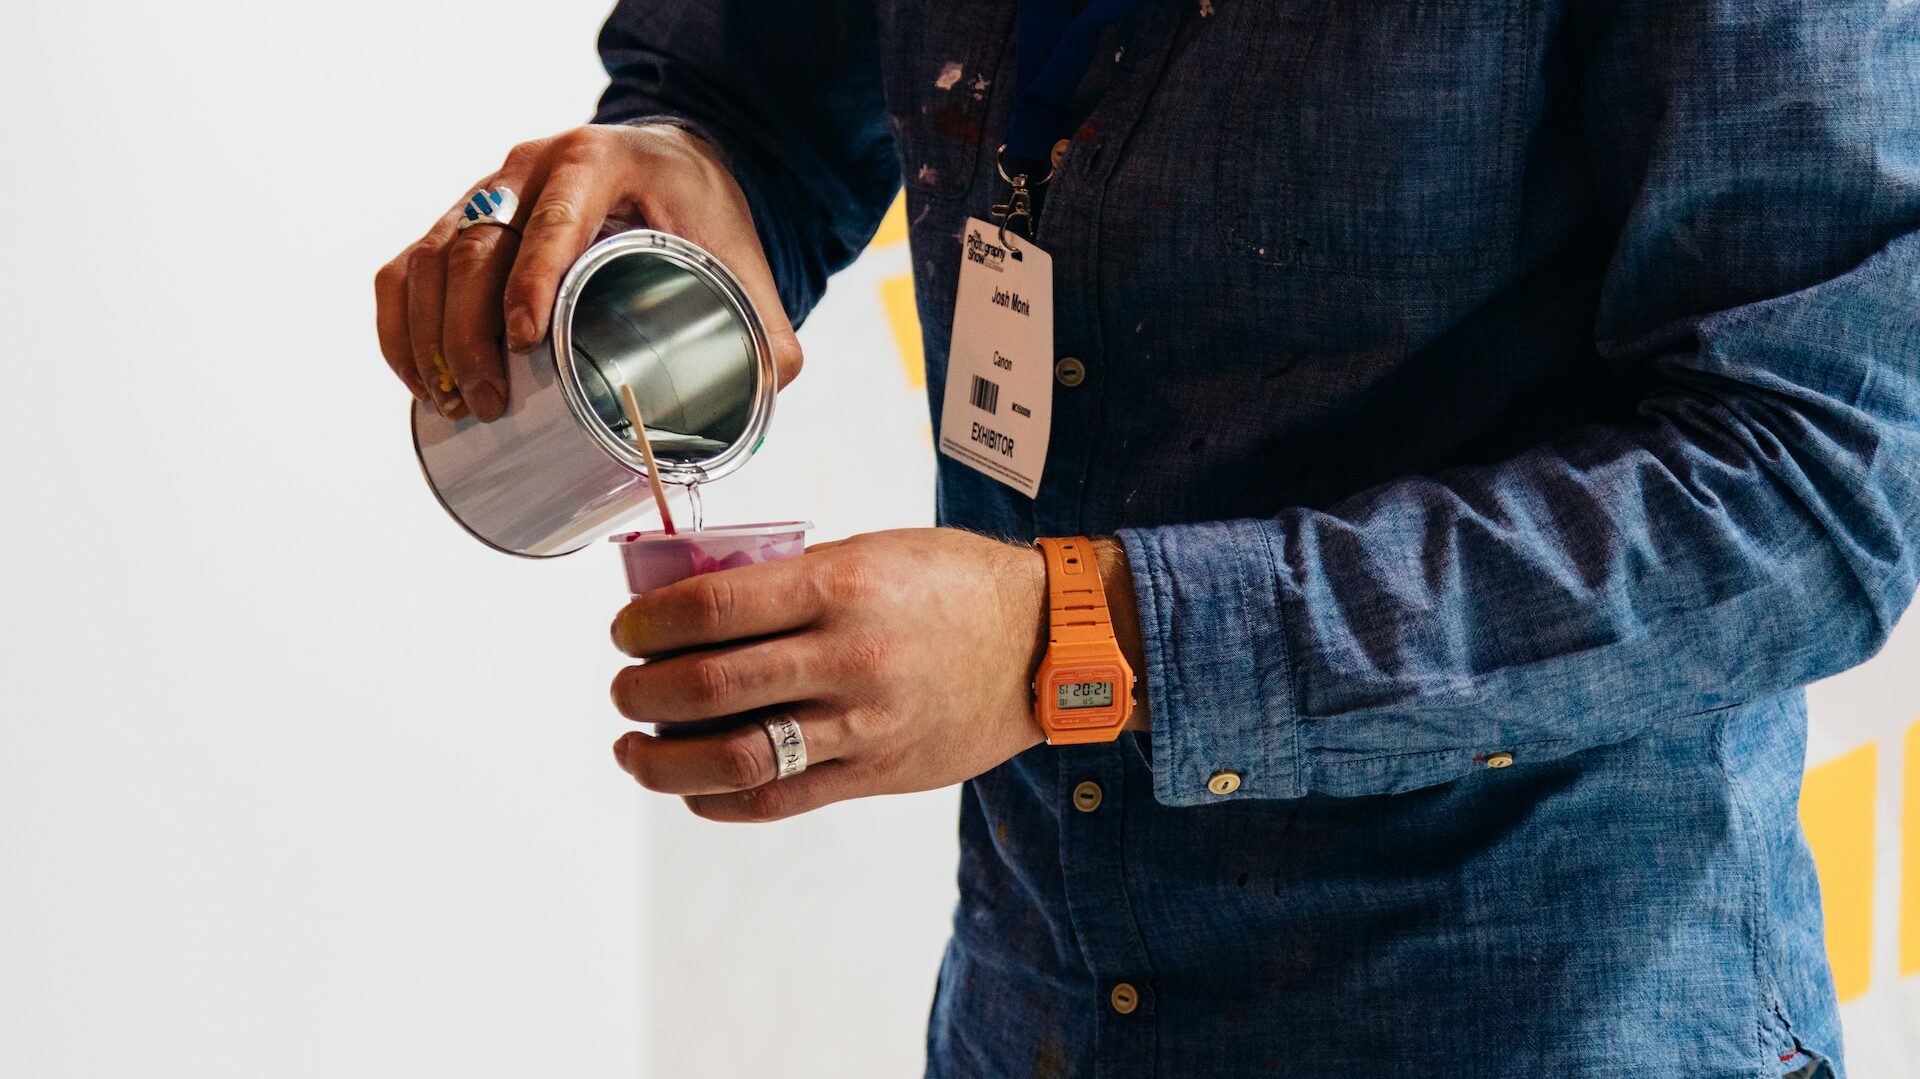
Mixing
- Epoxy comes in two parts: a resin and a hardener. Proper mixing is crucial to achieve a robust, long-lasting surface.
- Read Instructions: Always refer to the product’s instructions. Different brands may have specific mixing ratios and methods.
- Measure Correctly: Using the right ratio of resin to hardener is paramount. Improper measurements can lead to an uneven cure or a weak floor.
- Mix Thoroughly: Using a drill with a mixer attachment or a paddle, blend the two components until they’re well combined. Typically, you’ll want to mix for several minutes to ensure a homogenous blend.
- Wait if Needed: Some products require an “induction time” after mixing, allowing the chemicals to react before application. If this is the case, it’ll be mentioned in the instructions.
Application
Once your epoxy is mixed, it’s time to to apply.
Start Small: Begin in a small section to get the hang of the application process. It’s better to get familiar before tackling larger areas.
Use the Right Tools: Typically, a roller attached to an extension pole is ideal. This allows for even pressure and spread. For edges and tight spaces, a brush may be more appropriate.
Apply Thin: The first layer should be relatively thin. This ensures better adhesion to the floor. If a second coat is necessary, wait for the recommended drying time before application.
Add Flakes (If Desired): If your kit includes decorative flakes or chips, scatter them onto the wet epoxy. Be random in your application for a more natural look.
Curing
This is the waiting game. But patience is key to achieving the best DIY epoxy garage floor results.
Initial Cure: While the epoxy might feel dry to the touch within a day or so, this is just the initial cure. You can walk on it lightly, but avoid placing heavy objects or vehicles on it.
Secondary Cure: This is when the epoxy reaches its full hardness. Depending on the product, this can take anywhere from a few days to a week.
Test the Floor: Before bringing in heavy machinery or your car, test the floor with a small object. Drop it from a height and check if the floor dents or chips. If it does, give it more time to cure.
Ventilation: Throughout the curing process, ensure the garage is well ventilated. This helps in airing out any fumes and aids in the drying process.
Potential Pitfalls and How to Avoid Them
Bubbles
Bubbles can appear in the epoxy coating, making the surface uneven and less appealing.
Causes: Bubbles typically form due to outgassing (when trapped air in the concrete rises to the surface), or if the epoxy is applied too thickly.
Prevention: Ensure the floor is appropriately prepped and cleaned. If using a primer, make sure it’s suitable for epoxy. Apply thin, even coats and consider using a spiked roller to help release trapped air during application.
Uneven Surfaces
An uneven epoxy floor can result from a variety of reasons, such as improper mixing or application.
Causes: Not mixing the epoxy and hardener properly, not repairing cracks or damages in the concrete before application, or applying the epoxy unevenly.
Prevention: Always follow mixing instructions meticulously. Before applying epoxy, ensure the floor is level, cracks are repaired, and any damage is addressed. Use the right tools, such as a notched squeegee or roller, to ensure an even application.
Conclusion
Epoxy garage floors are more than a trend; they are for functionality and aesthetics, too. They’re the perfect solution for those seeking a durable, long-lasting surface that also adds a touch of class to an often overlooked space. But like any DIY project, success lies in preparation, patience, and understanding the intricacies of the material. The process to go from a dusty, uninspired garage to a shining, resilient floor might seem difficult, but with the right steps and a keen eye for detail, it’s well within your reach.
FAQs
Q: How long does epoxy garage flooring last?
A: With proper care and maintenance, epoxy garage floors can last anywhere from 10 to 20 years, depending on the quality of the epoxy used and the amount of traffic the floor experiences.
Q: Can I apply epoxy over an old painted garage floor?
A: Yes, but preparation is crucial. The old paint needs to be sanded down for better adhesion, and the floor should be thoroughly cleaned and free from debris, dust, and oils.
Q: Is epoxy flooring slippery?
A: While epoxy floors can be slippery when wet, many epoxy kits come with optional anti-slip additives. Textured finishes, like decorative flakes, can also provide additional grip.
Q: How soon can I park my car on the new epoxy floor?
A: While the epoxy might feel dry within 24 hours, it’s advisable to wait at least 5-7 days for a full cure before parking heavy vehicles on it to prevent any damage.
Q: Can epoxy cover large cracks or pits in the garage?
A: Epoxy can cover small cracks and imperfections. For larger cracks or pits, it’s recommended to repair them with a concrete filler or patching compound before applying the epoxy for a smoother finish.


Comments are closed.